

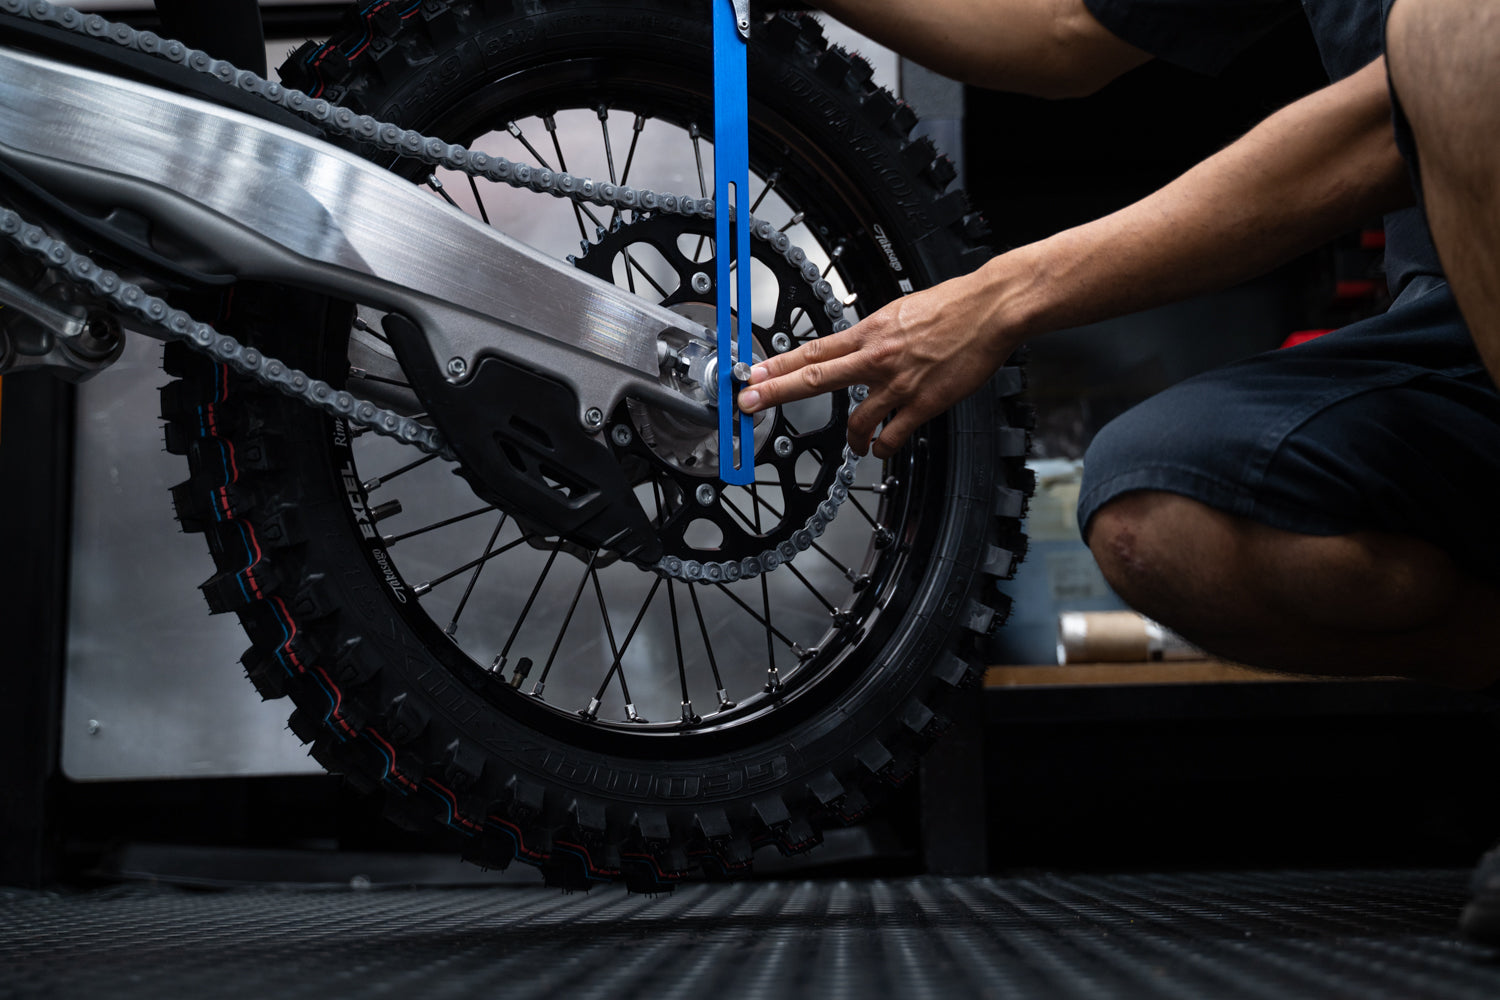
The #1 suggestion that you'll hear at a race or local riding spot if you're switching to a new bike, or if you have never touched a single thing on your suspension, is to set your "sag." Why does this "sag" matter so much? So when we are talking about rear-end sag on your motorcycle, there are three important measurements that, if done correctly they can play a big part in deciphering the bikes handling characteristics. First, you want to lift the rear wheel off the ground by placing the motorcycle on a center stand (keeping the bike secure with the rear tire off the ground) to get full extension of the rear wheel. Some shocks will extend the rear wheel travel even further if you put pressure on the end of the swingarm down toward the ground. Then you'll notice the travel returning to its resting spot once released; this is caused by an internal shock top out spring, but we won't worry about this detail for simply setting rider sag.
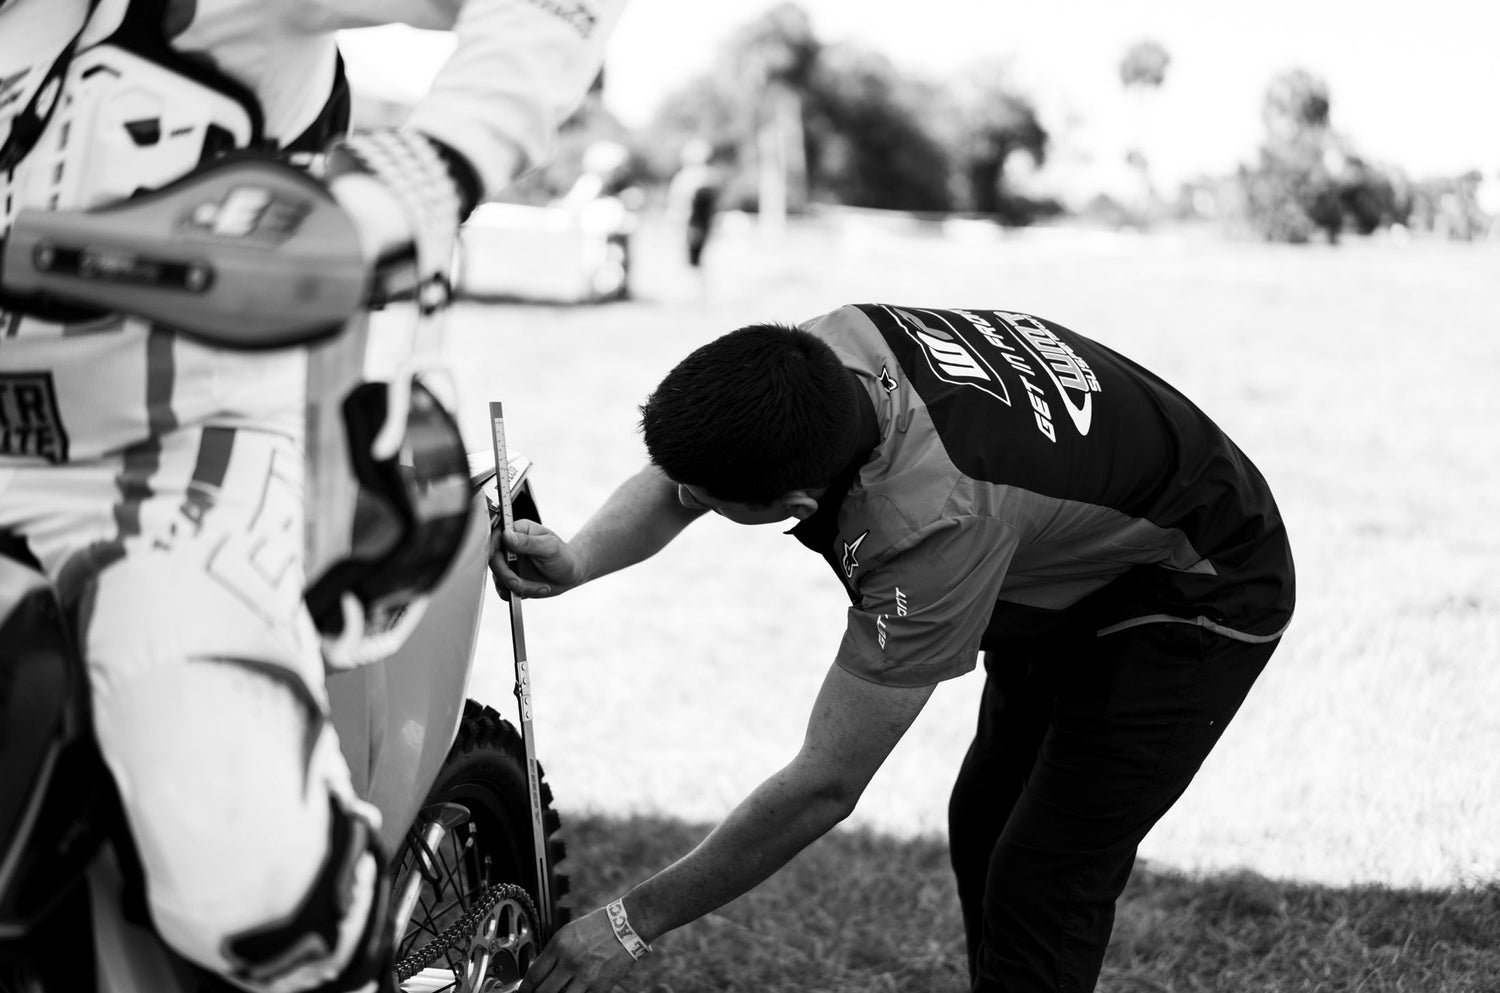
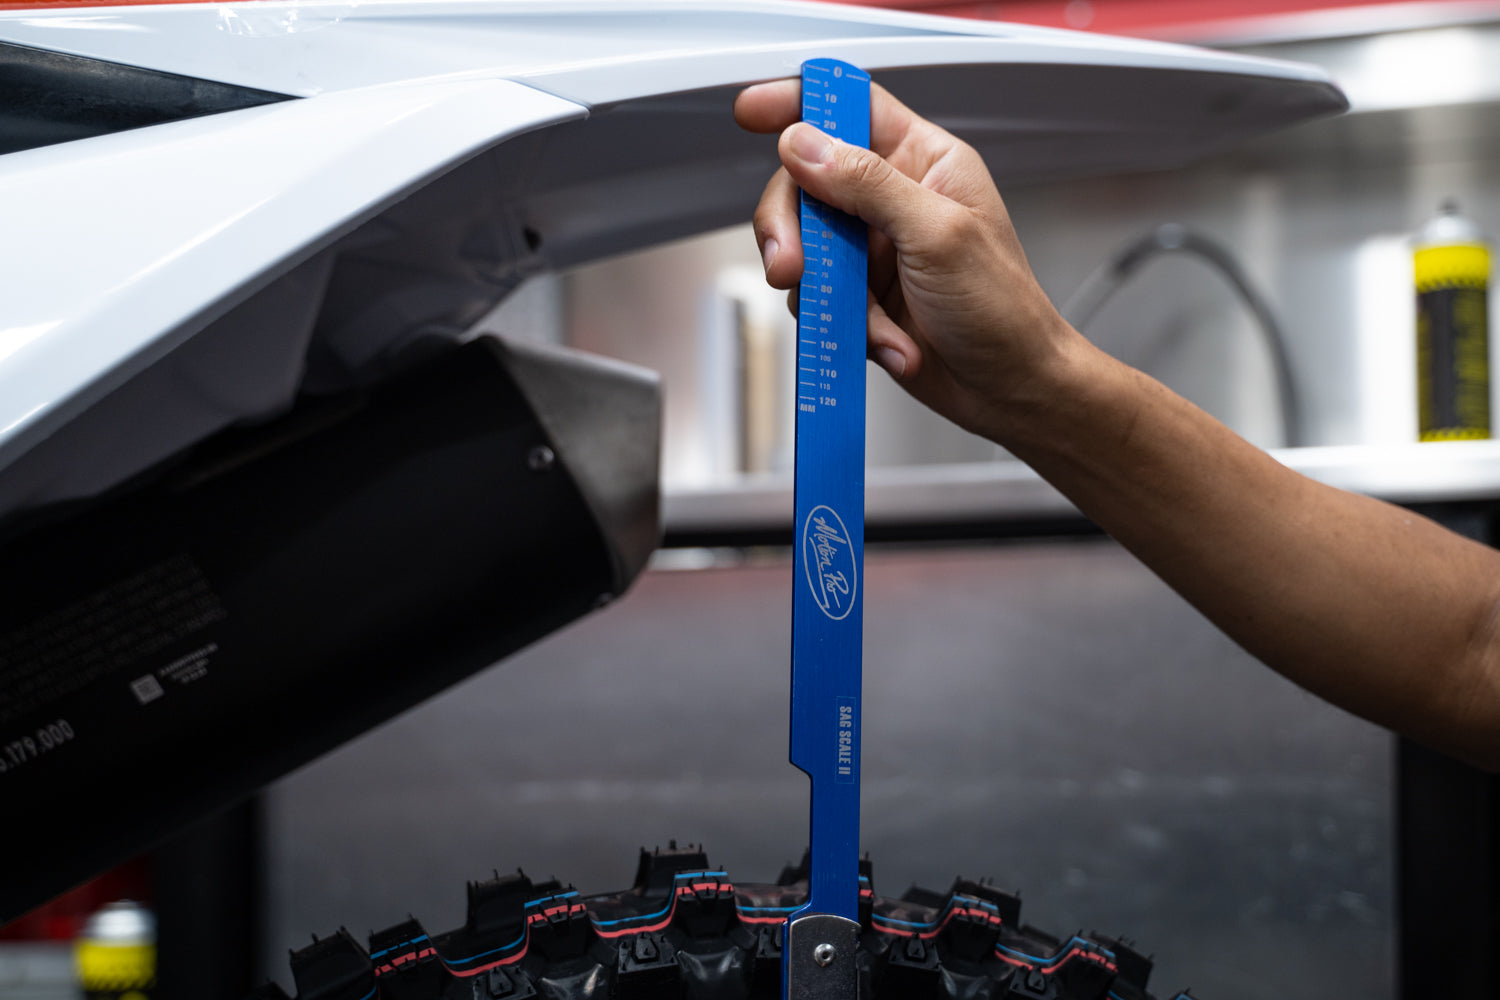
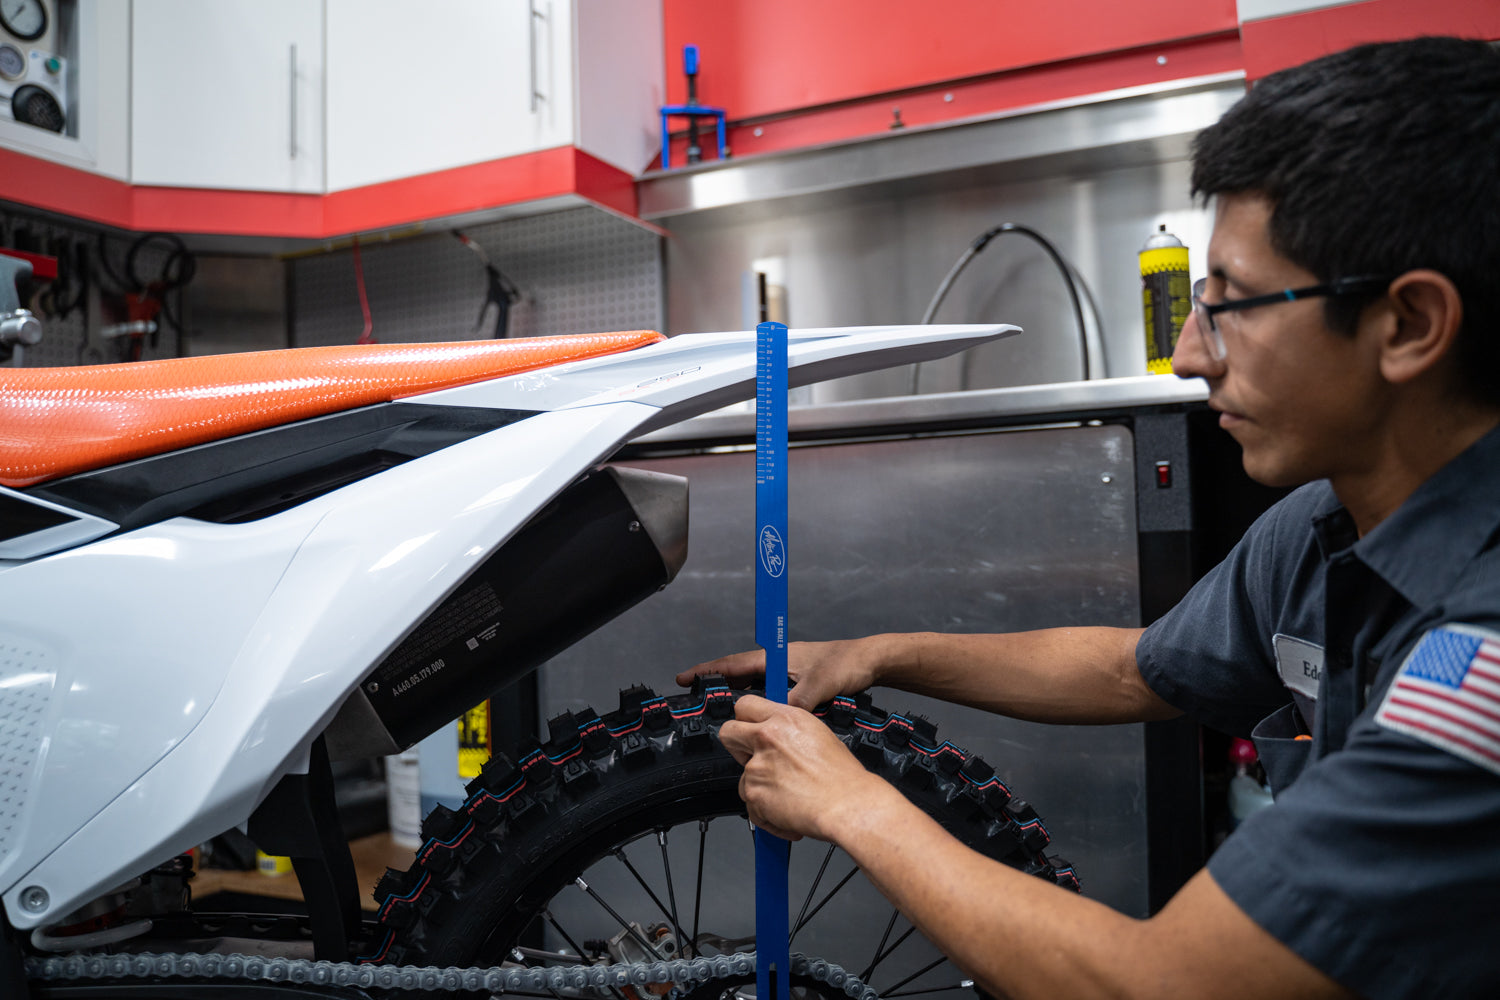
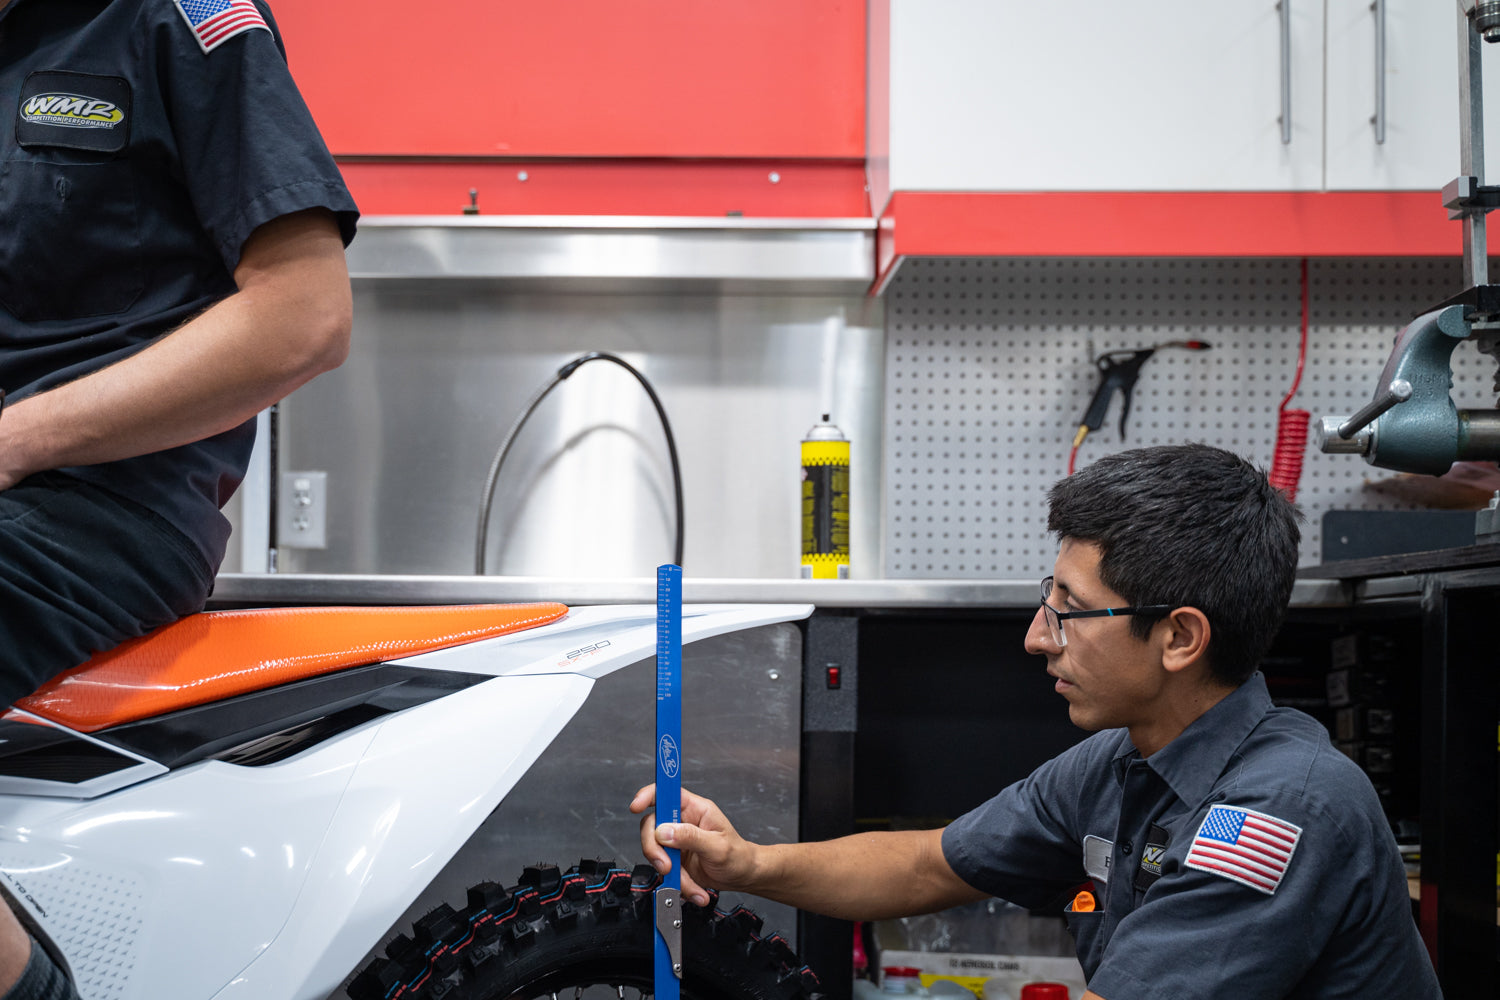
After the rear wheel is in the air at its resting position, you will want to find two consistent points on the rear end of the motorcycle to measure your maximum travel. Two popular spots to measure from are the center of the rear axle and the seam where the rear fender meets the rear side number plate. Be careful with loose or floppy plastics because if your measuring point on the plastic is inconsistent then your final #'s will also be inconsistent, also be sure to use the exact same spot on the plastic, vice versa with measuring near the center of the rear axle. Once we know what our full extension length is, now it's time to set the motorcycle straight up & down on the ground, lightly keeping the bike from tipping over to measure the static sag/free sag from the same two points that were measured to get the full extension travel.

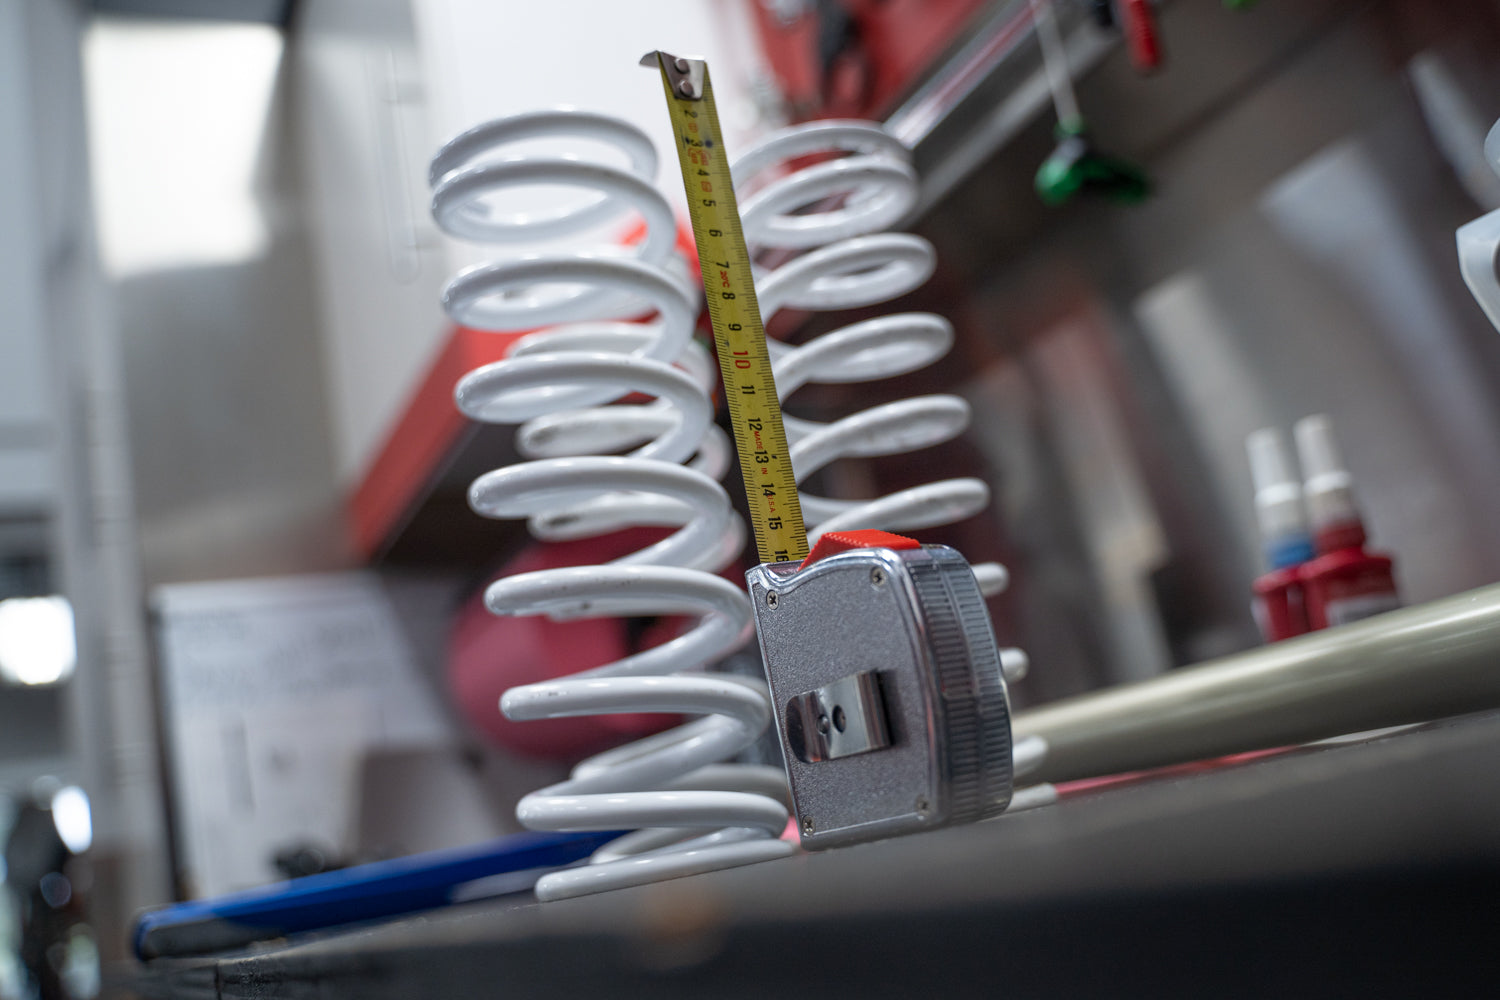
Measuring Static Sag can be important when deciding whether to use a lighter or stiffer spring than what is on the shock currently for the rider, in order to get the correct static sag reading, first give the rear end of the seat a gentle push down for the shock to find its resting point, and if your shock is bouncing around like an untamed spring, then you have bigger problems that the correct sag won't solve. In the second step, once the shock has extended itself to a resting point, you must measure from the two consistent points on the motorcycle that we recently discussed and write down your measurement, for example, if at full extension with the bike on the center stand measures 200mm and with the bike on the ground you get 170mm then you have a static sag of 30mm because that's how much the rear end has lowered (sag) with your current spring/preload setting.
Yes, bad linkage/pivot bearings can throw your numbers off, so it is recommended addressing that first before worrying about static or rider sag. Static sag can also be used as a reference number for rider sag if you don't have the help needed from other people to measure rider sag. An example would be if you have proven that a 35mm static sag gets you a rider sag of 105mm, then simply checking static sag will give you peace of mind if you're in doubt about sag numbers after getting your shock serviced. The example recently discussed is only correct if you use the same riding gear and weigh within a very close range of the same body weight, yes if you just ate a big breakfast, your weight will be off, but for most riders, this shouldn't be an issue on the way the motorcycle handles for you one day to the next.
Once we have an understanding that the rear end is moving freely, no bearings binding up, now it's time to have the rider get on the bike in order to check rider sag/race sag and important advice for checking rider sag is to keep your data consistent! Meaning if you are the rider on the motorcycle and you stand on the pegs in the center of the bike, then always stand in the same position with the same posture, and vice versa if you sit down.
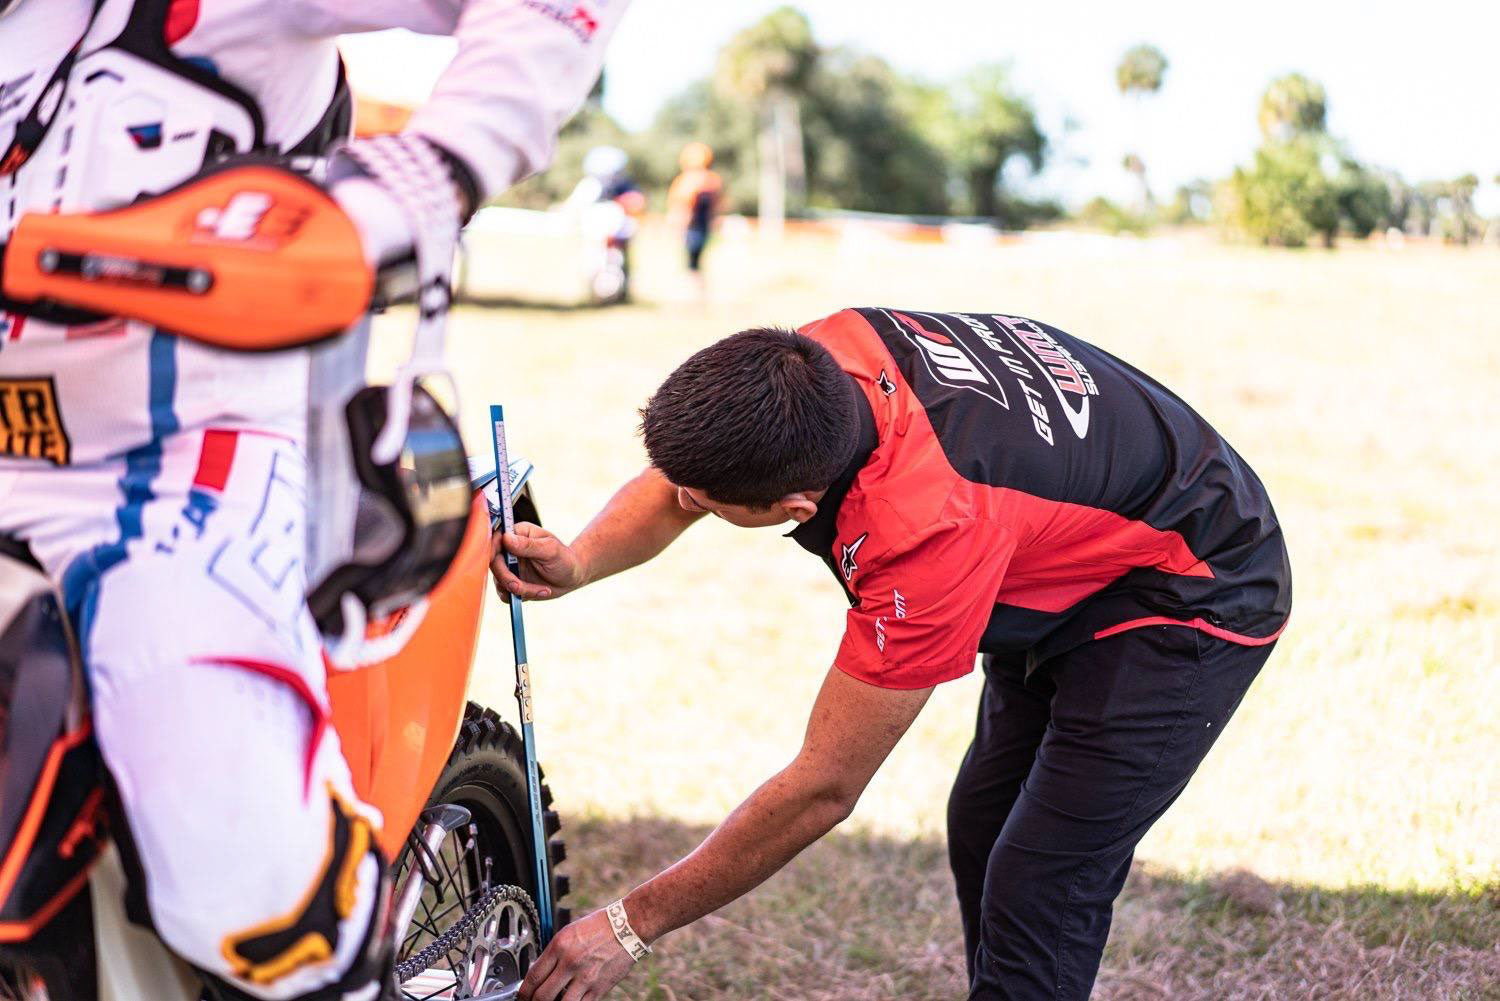
When having another person hold the bike upright for you, make sure that it's from the front of the motorcycle and not to hold down on the front brake lever or adding weight to the front forks causing them to compress more than they should. Incorrectly holding the bike upright while checking rider sag could cause different sag numbers with the same rider, the person measuring at the rear end of the motorcycle should give the rear end of the seat an easy push downward and let the shock settle back into its resting position before measuring from those two consistent points on the rear end of the motorcycle. An example would be if at full extension, the measurement is 200mm and with the rider on the motorcycle, your measurement is 95mm; then rider sag equals 105mm because 95mm is being taken away from 200mm since 200mm is our Max travel. Feel free to double-check yourself and compress on the rear end of the seat again to see if you get both rider sag measurements the same. Also, take the time to make sure that your full extension travel length measurement is still the same.
Now with the verified rider sag/race sag, you can leave the rear shock spring preload the same if the rider sag number is where you want it or if to manufacturer spec is listed in your owner's manual. If the rider sag numbers are off, you will need to adjust rear shock preload, add preload if your rider sag number is bigger than spec, and remove preload if the rider sag number is smaller than spec. Using manufacturer specs is always a good starting point if unsure. After rider testing is done, it's important to keep notes on what the rider's feedback was or what you as the rider felt.

Even if you need help deciding what direction to go, with the information you have collected, be sure to write something down while the ideas are fresh. This will help you in the long run. With accurate rider and static sag numbers plus feedback, suspension improvement suggestions can then be advised by the professionals at WMR Competition Performance.
- Improved handling: When the rider sag is set correctly, the bike will handle more predictably and be easier to control. This is because the suspension will be working properly and absorbing bumps and obstacles more effectively.
- Increased traction: When the rider sag is set correctly, the bike will have more traction. This is because the tires will be able to make better contact with the ground.
- Reduced wear and tear on the suspension: When the rider sag is set correctly, the suspension will not be working too hard. This will help to reduce wear and tear on the components.
- Improved rider comfort: When the rider sag is set correctly, the rider will be more comfortable riding the bike. This is because the bike will be more stable and less likely to bounce around.
Set up an appointment today to discuss your Suspension needs with Eddy!


Leave a comment
This site is protected by reCAPTCHA and the Google Privacy Policy and Terms of Service apply.